
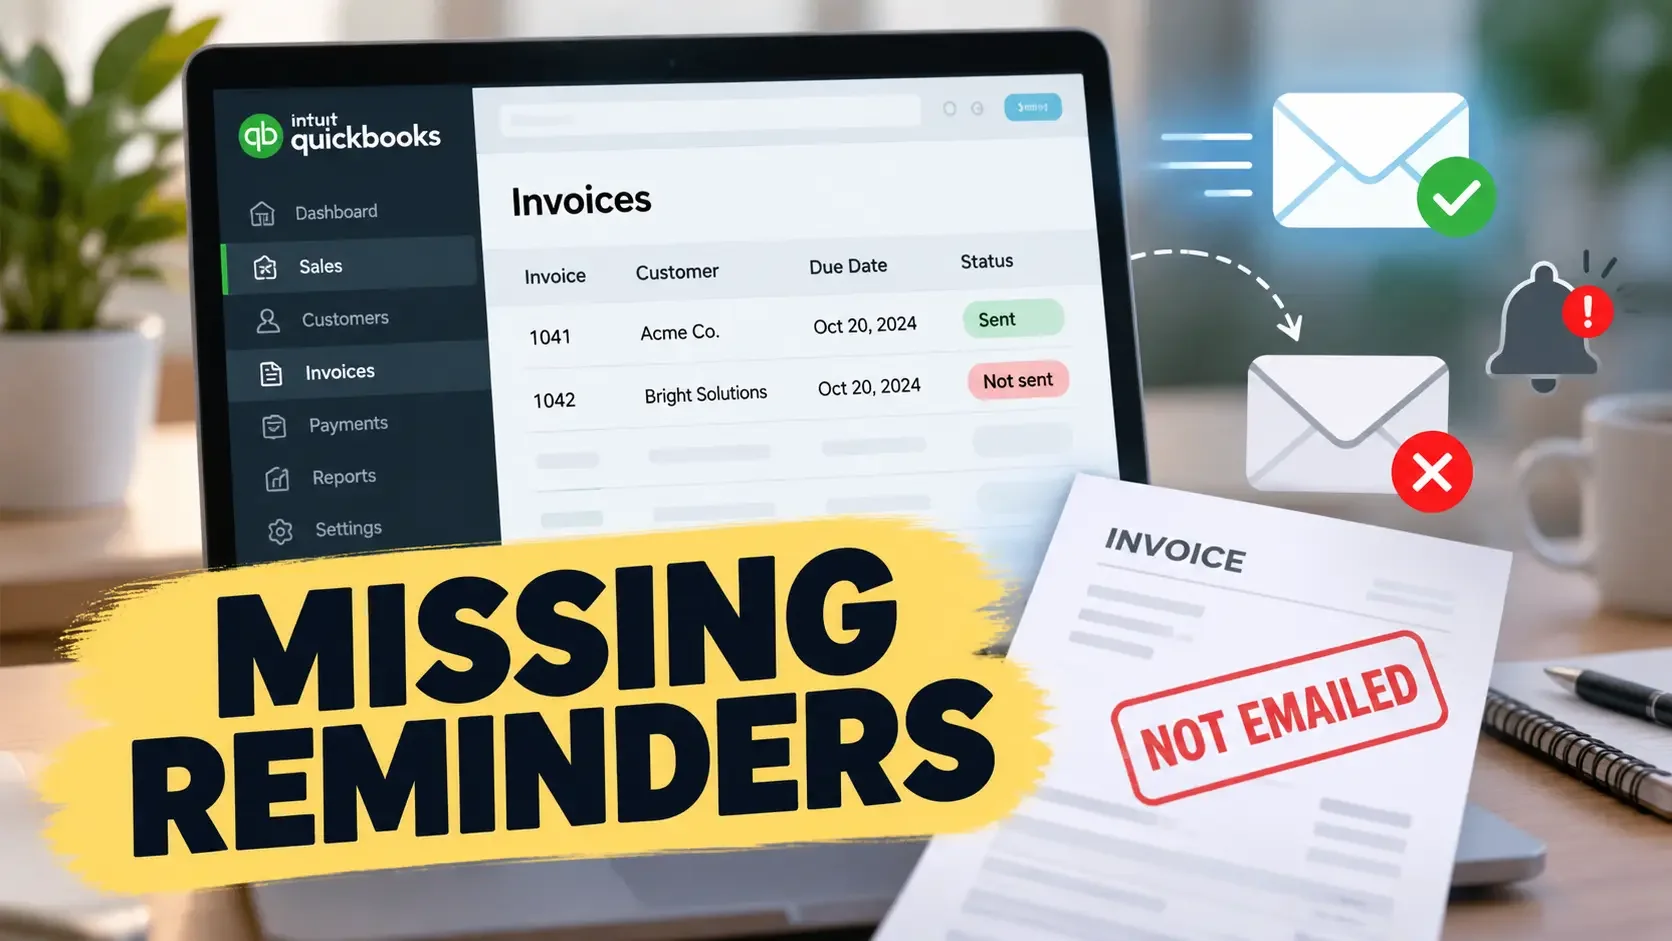
Your automatic invoice reminders are enabled in QuickBooks Online but some customers never receive them. The invoices are saved, their due dates have passed and the reminder schedule appears correct. Yet QuickBooks does not send the expected payment reminders.
The missing step may be the original invoice email. QuickBooks Online's standard automatic reminders only apply to invoices that have already been emailed. An invoice that was saved but never sent can remain unpaid and overdue without qualifying for these reminders.
Quick Fix: Check If the Invoice Was Sent
Before changing your reminder settings, open the affected invoice and confirm whether QuickBooks recorded it as sent. Go to All apps → Sales & Get Paid → Invoices and locate the invoice that should have triggered a reminder.
Review its status to determine whether the original invoice was emailed or simply saved. If it was never sent, open the existing record, verify the customer's email address and send it through QuickBooks.
There is no need to create another invoice for the same charges. Once the invoice shows Sent, check its outstanding balance, due date and reminder schedule.
Sending the original invoice now does not guarantee that QuickBooks will immediately deliver reminders whose scheduled dates have already passed. If the invoice was already emailed, investigate the reminder settings instead of sending another copy unnecessarily.
Why Unsent Invoices Miss Automatic Reminders
However, saving an invoice and notifying the customer are separate actions. The invoice can exist in QuickBooks even when no email has been sent.
Intuit's standard automatic reminder feature checks whether an unpaid invoice meets the configured due-date conditions and whether the original invoice has already been emailed. If either requirement is missing, the invoice may not qualify for the expected reminder.
For example, two customers might have invoices due on the same day. One receives a payment reminder because the original invoice was emailed, while the other receives nothing because the invoice was saved without being sent.
The difference is not necessarily a problem with the reminder schedule. The second invoice may simply be ineligible for standard automatic reminders.
Example: Two Overdue Invoices, One Missing Reminder
Suppose a business creates two invoices, both due on October 20. It has configured QuickBooks to send an automatic payment reminder three days after the due date.
Invoice 1041 is emailed directly from QuickBooks when it is created. Invoice 1042 is saved because the business owner wants to review its charges before sending it.
On October 23, both invoices remain unpaid, but only the first satisfies the original-email requirement. Their reminder eligibility is therefore different, even though their due dates and payment statuses are identical.
| Invoice | Original invoice status | Reminder eligibility |
|---|---|---|
| Invoice 1041 | Emailed through QuickBooks | Eligible if other conditions are met |
| Invoice 1042 | Saved but never emailed | Not eligible for standard automatic reminders |
In this situation, repeatedly changing the reminder schedule will not resolve the missing original email. The business should review Invoice 1042, send it through QuickBooks when appropriate and verify its eligibility for future reminders.
How to Confirm QuickBooks Emailed the Invoice
Open the Invoices page and locate the affected customer invoice. Check its sending status and review the available invoice details.
According to Intuit, QuickBooks displays Sent on the Invoices page after an invoice is emailed through its sending process. If the invoice does not show evidence of being sent, investigate whether it was saved for later instead of emailed.
Do not assume that an overdue or unpaid invoice was previously delivered. Payment status and email status describe different aspects of the same transaction.
Also remember that QuickBooks recording an invoice as sent does not necessarily prove the customer received it. If the invoice shows Sent but the customer cannot find it, investigate the recipient address and possible email delivery issues.
For the specific problem covered here, the first goal is to establish whether the original invoice email was completed. This helps determine whether you need to correct the invoice's sending status or investigate its reminder settings.
Send the Original Invoice Without Duplicating It
If the invoice was never emailed, you can send the existing invoice instead of creating a replacement. Go to All apps → Sales & Get Paid → Invoices and find the relevant record.
Select Send from its available dropdown menu. If you need to review the invoice before sending it, select Edit and then Review and send.
Confirm the customer information, invoice number, amount and due date. Check that the recipient's email address is correct before selecting Send invoice.
After sending it, return to the Invoices page and verify that QuickBooks displays the invoice as Sent. Using the original invoice preserves the existing billing record and avoids introducing another invoice for the same transaction.
If the customer already received a copy through another communication method, consider whether another email could cause confusion. You may need to explain why the invoice is being sent again.
What If You Sent the Invoice Outside QuickBooks?
Some businesses download invoices as PDFs and send them through Gmail, Outlook or another email application. Others print invoices or distribute them through separate billing systems.
Although the customer may already have received the invoice, this does not necessarily mean QuickBooks recorded it as emailed. The external delivery and the invoice's sending status inside QuickBooks are not necessarily the same.
For example, you might create an invoice in QuickBooks, download its PDF and attach it to an Outlook message. The customer receives the document but the original invoice may still lack the expected sending status inside QuickBooks.
Check the invoice's recorded status rather than assuming that an external email automatically satisfies the standard reminder requirement. If QuickBooks still shows the invoice as unsent, review how to complete its normal sending process without unnecessarily contacting the customer twice.
For businesses that frequently distribute invoices outside QuickBooks, this distinction is important when managing automatic payment reminders. It may also influence whether the standard reminder system is appropriate for their existing billing process.
Check the Automatic Reminder Settings
Once you have confirmed that the original invoice was emailed, review the reminder configuration. Open Settings → Account and settings → Sales and locate the Reminders section.
Select Edit to view the available options, then make sure Automatic invoice reminders is enabled. You should also check whether the individual reminder you expect QuickBooks to send is switched on.
For example, you may have enabled automatic reminders generally but left Reminder 1 disabled. Alternatively, you might expect a reminder three days after the due date when the configured interval is actually seven days.
QuickBooks allows you to configure up to three standard automatic reminders. Their schedules can extend up to 90 days before or after an invoice's due date.
Review the relevant conditions before making changes.
| Setting | What to verify |
|---|---|
| Automatic reminders | The feature is enabled |
| Individual reminder | The intended reminder is switched on |
| Reminder schedule | The invoice meets the configured timing |
| Invoice email status | The original invoice was emailed |
| Outstanding balance | The invoice remains unpaid |
| Customer email | The intended recipient is correct |
If the settings need adjustment, save your changes and check their effect on upcoming reminders. Avoid changing every reminder rule when only one setting is responsible for the unexpected behaviour.
Intuit states that changes to reminder rules apply to future reminders. Therefore, editing a schedule does not necessarily cause QuickBooks to send reminders that were previously missed.
Invoice Sent but Reminder Missing?
When the original invoice is already marked Sent, focus on the conditions that determine whether a reminder should be generated. Start with the due date and compare it with the active reminder interval.
A reminder configured for five days after an invoice becomes due should not be expected when the invoice is only two days overdue. The reminder may simply not be scheduled to run yet.
Next, check whether the invoice remains unpaid. Standard automatic reminders are designed for invoices with outstanding payments, so an invoice that has already been paid should not qualify for an unpaid-invoice reminder.
Also verify that the relevant reminder is enabled and that its configuration matches the invoice's timing. If QuickBooks indicates that a reminder was sent but the customer cannot find it, investigate the recipient details and possible delivery problems.
These checks help distinguish a reminder that was never generated from an email the customer did not receive. Understanding that difference prevents unnecessary changes to a reminder system that may already be working correctly.
Can You Send a Manual Reminder Instead?
QuickBooks Online provides an option to send invoice reminders manually when you need to contact a customer without waiting for the automatic schedule. This can be useful when an invoice is already overdue and immediate follow-up is appropriate.
Go to All apps → Sales & Get Paid → Invoices and locate the relevant invoice. From the Receive payment dropdown, select Send reminder where that option is available.
Review the reminder message and recipient information before sending it. Make sure the invoice remains unpaid and that the customer has not already received an unnecessary duplicate payment request.
However, a manual reminder should not automatically replace the original invoice email. If the invoice was never sent, review that issue first and choose the appropriate communication.
QuickBooks Advanced: Unsent Invoice vs. Payment Reminders
QuickBooks Online Advanced offers workflow automation features in addition to the standard automatic reminders configured through Sales settings. These workflows can have their own conditions, timing and actions.
One important distinction involves the workflow named Unsent Invoice Reminders. Intuit documents that Unsent Invoice Reminders and Pay Bill Reminders are preconfigured workflows for new companies in its Advanced workflow system.
Despite the similar name, an Unsent Invoice Reminders workflow should not be confused with the standard automatic payment reminders sent to customers about unpaid invoices. They address different parts of the invoicing process.
The Unsent Invoice Reminders workflow relates to invoices that have not yet been sent. Standard automatic payment reminders are intended to follow up on qualifying invoices that have already been emailed.
If you see an Unsent Invoice Reminders workflow in your QuickBooks Online Advanced account, do not assume that its presence means overdue customers will automatically receive payment reminders. You need to check what that particular workflow is configured to do.
To inspect the workflow, go to Settings → Manage workflows → My workflows. Find the relevant workflow and review its status, conditions and configured actions.
Advanced also allows businesses to create separate customer payment-reminder workflows. If you created one of these, investigate its actual configuration rather than assuming the standard Sales reminder rules control it.
The original-email requirement discussed throughout this guide is specifically documented for QuickBooks' standard automatic reminders. Custom workflows should be evaluated according to their own conditions and actions.
Test Whether Future Invoice Reminders Work
After correcting the original invoice's sending status, check that the reminder process works under the intended conditions. Use a suitable test customer and invoice so that troubleshooting does not generate unwanted payment requests for a real customer.
Create or select an appropriate unpaid test invoice and verify that its due date matches an upcoming reminder schedule. Send the original invoice through QuickBooks and confirm that its status changes to Sent.
Next, review the active reminder settings. Make sure the expected reminder is enabled and that the invoice qualifies for its timing.
After the scheduled reminder time has passed, inspect the invoice's available activity details to determine whether QuickBooks processed the reminder. If the reminder was generated, confirm that the intended recipient information is correct.
If the invoice meets all documented requirements but QuickBooks still does not send the expected reminder, the problem may require account-specific investigation through QuickBooks support. Keep the invoice details and relevant reminder settings available so the issue can be examined accurately.
Testing with an appropriately configured invoice helps establish whether the correction worked. It also reduces the risk of unnecessarily altering other customer records while troubleshooting.
Final Check: Confirm the Invoice Is Eligible
If QuickBooks automatic invoice reminders are not sending for invoices that were never emailed, begin with the original invoice's sending status. An invoice can be saved, unpaid and overdue without qualifying for standard automatic reminders.
Sending the existing invoice through QuickBooks addresses that missing requirement without creating a duplicate billing record. Afterward, confirm that the reminder feature is enabled and that the invoice satisfies the configured timing and payment conditions.
If you use QuickBooks Online Advanced, make sure you are checking the correct automation. Its Unsent Invoice Reminders workflow is not the same as a standard customer payment reminder.
By identifying which reminder system you use and verifying the invoice's actual status, you can troubleshoot the missing reminder without repeatedly changing unrelated settings. This provides a more reliable way to restore the intended reminder process while keeping customer communication clear.