
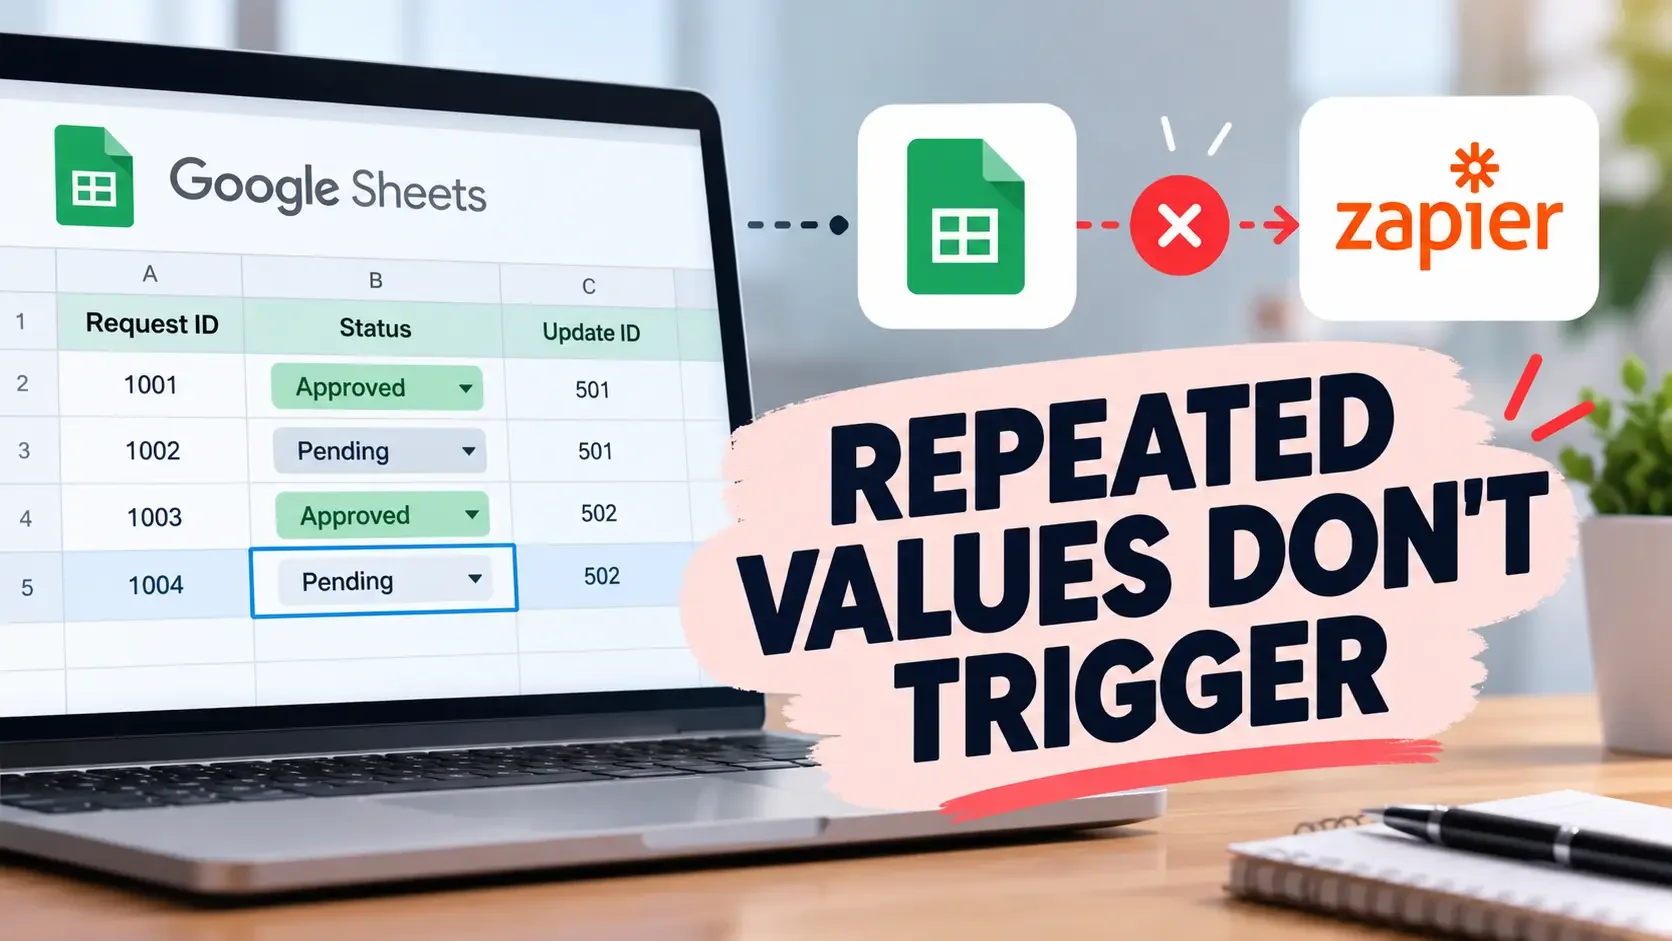
Your Google Sheets automation worked yesterday, but today you updated a row and nothing happened. The Zap is still turned on, the spreadsheet saved your changes and there is no obvious error explaining why the workflow stopped.
If the problem occurs when you reuse a dropdown status, check a box for the second time, or enter a value that appeared earlier, the cause may be how Zapier detects updated rows. Its Google Sheets trigger can ignore values it has already processed in the same row, even when someone has visibly changed the cell.
The solution depends on whether Zapier missed the update entirely or started the workflow but stopped at a later step. You can identify the difference before changing your spreadsheet or rebuilding the automation.
Why Zapier Stops Detecting Some Google Sheets Row Updates
Zapier's Updated Spreadsheet Row trigger monitors changes to existing spreadsheet rows. However, its ability to detect an update depends on the values received, not simply whether someone edited a cell.
According to Zapier's documentation, changing a monitored column back to a value previously detected in that row does not generate another trigger event. This can create problems in spreadsheets where the same statuses are repeatedly used.
Consider a customer approval sheet with a Status column containing Pending, Approved and Rejected. A request moves from Pending to Approved and Zapier processes the change successfully.
Later, the approval is withdrawn and the status returns to Pending. When the request is approved again, Zapier may not start another run because Approved is a value the trigger already encountered for that row.
The spreadsheet is behaving normally, but the automation is not receiving a new event. Reconnecting the Google Sheets account will not necessarily resolve a limitation involving previously detected values.
Check Zap History Before Changing Anything
A missing automation action does not always mean the Google Sheets trigger failed. The workflow may have started successfully but stopped because a condition was not met or an action encountered an error.
Open the affected Zap in Zapier and review its Zap History. Look for a run associated with the spreadsheet row you recently updated, using the approximate time, record ID or other available identifying information. There are three situations to distinguish.
No Zap Run Appears
If Zap History contains no corresponding run, the expected trigger event may not have been detected. Start by checking whether the Zap is turned on and whether it is connected to the correct spreadsheet and worksheet.
Next, inspect the Google Sheets trigger configuration. If a particular Trigger column is selected, confirm that your recent change affected that column rather than a different field.
A missing run can also result from connection problems, structural changes to the spreadsheet or a previously detected value. The absence of an error does not establish which explanation is correct.
The Zap Ran but Shows as Filtered
A Filtered status means Zapier received the trigger event, but the workflow did not continue because a filter condition was not satisfied.
Open the run details and inspect the filter step. Compare the condition with the actual value received from Google Sheets, paying attention to empty fields, incorrect mappings or values that no longer satisfy the rule.
In this situation, changing the Google Sheets trigger may be unnecessary. The issue lies in the conditions controlling what happens after the trigger starts.
The Zap Ran but an Action Failed
If the run shows an error, open the affected action step and examine its details. A failed action indicates a different problem from a missing spreadsheet update.
For example, the trigger may successfully retrieve a customer record while a later action fails because it receives missing information. Correcting the action's field mapping or configuration may resolve the problem without changing how spreadsheet updates are detected.
This distinction matters because a new trigger column can not repair an unrelated failure in a later step.
Test Whether Repeated Values Are Causing the Failure
Before modifying an active workflow, perform a controlled test using a safe spreadsheet row. Choose a record that will not cause unwanted customer emails, duplicate entries or changes to important business data.
Check which column the Zap monitors and inspect its current value. Enter a new test value that has not previously been used in that row, then allow Zapier time to detect the change.
Google Sheets triggers are not always immediate. Zapier states that its combination of instant and polling mechanisms can take approximately three minutes to process an update, even when the trigger is described as instant.
After allowing time for processing, review Zap History again. If the genuinely new value produces a run while previously used values do not, that result is consistent with Zapier's documented trigger limitation.
If the new value also fails, investigate the connection, trigger configuration and spreadsheet structure before proceeding. The unique-value workaround is useful only when it addresses the actual cause.
Fix Repeated Updates With a Unique Trigger Column
For spreadsheets that regularly reuse business statuses, Zapier recommends monitoring values that remain unique. One practical approach is to create a dedicated column whose value changes whenever another automation event is required.
This separates the information people use to manage their work from the information Zapier uses to recognize new events.
Step 1: Prepare the Spreadsheet Before Adding a Column
First, identify any active Zaps connected to the spreadsheet. Turn them off before changing its structure, because adding or rearranging columns can disrupt existing field mappings and trigger behaviour.
You can then create a new column named Update ID, Trigger Version or another label that clearly identifies its purpose. Keep the existing business columns unchanged unless a separate issue requires modifying them.
For important workflows, make a backup or test the revised structure in a separate sheet first. This reduces the risk of interrupting an automation that is already processing real business records.
Step 2: Give Each Intended Update a Unique Value
Suppose your spreadsheet contains a customer request identified as Request 1042. Its Status column shows Approved, while its new Update ID column contains 501.
Later, the customer needs another approval action. The status may return to Pending and then Approved but the Update ID changes from 501 to 502 when the next automation event is required.
If another event is needed, the Update ID can advance to 503. The status is allowed to repeat because the value used to trigger the workflow is new.
An incrementing number is one option. Zapier also suggests timestamps, provided each intended update receives a genuinely distinct value.
The important detail is that the Update ID must actually change for each new event. Adding a column without updating its values will not solve the problem and repeatedly entering the same identifier would recreate it.
Step 3: Select the New Trigger Column in Zapier
Return to the Zap editor and open the Google Sheets trigger step. Check the connected account, spreadsheet and worksheet before changing the Trigger column selection.
Choose the new Update ID column as the field to monitor. This tells Zapier to use changes to that field rather than relying exclusively on a recurring status such as Approved.
Retest the trigger using representative spreadsheet data. Review subsequent steps to confirm they still receive the expected customer details, status and other mapped values.
After checking the configuration, publish the updated Zap. If changes to the spreadsheet have disrupted any field mappings, correct those mappings before relying on the workflow.
Step 4: Update the Identifier Whenever Another Run Is Needed
Once the revised Zap is active, a new Update ID becomes the signal that another event should be processed.
For example, someone handling customer approvals might first update the request's Status field and then enter a fresh Update ID. The Zap monitors that identifier and retrieves the row's current information when the event is detected.
Be careful about the order of changes. If the identifier is updated before the other required fields are ready, the workflow could receive incomplete or outdated information.
Zapier warns that Google Sheets updates can sometimes be processed before a row is fully populated. Completing the required business fields before changing the monitored identifier provides a clearer and more controlled workflow.
What If Your Zap Uses Google Sheets Checkboxes?
Checkbox-based workflows can experience the same underlying limitation because their values commonly alternate between TRUE and FALSE.
Imagine that checking a box starts a customer notification. The first time someone checks it, the Zap runs successfully, but unchecking and checking it again may not generate another event once those values have already been detected.
The checkbox is not necessarily malfunctioning. The problem is that repeating its previous state does not guarantee a new trigger event.
You can keep the checkbox for its original purpose while using a separate Update ID column to initiate repeated processing. This allows employees to continue working with the familiar checkbox without relying on it as the only indicator of a new event.
If your Zapier plan includes Filter by Zapier, you can also use a filter to continue only when the checkbox is selected. The unique identifier starts the event, while the filter determines whether the workflow should proceed.
Remember that a filter cannot create a missing trigger event. It only evaluates information after Zapier has already started the workflow.
Should You Use Any Column Instead?
Some Google Sheets trigger configurations allow you to monitor Any column rather than selecting one specific field. This can be useful when updates to several different fields are intended to initiate an automation.
However, it can also create unexpected behaviour. Changing an unrelated note, correcting a customer name or filling an empty cell may cause the Zap to run when no business action was intended.
Zapier documents this behaviour for its New or Updated Spreadsheet Row trigger and recommends selecting a specific Trigger column when more precise control is needed.
For approval systems and other workflows with a defined processing event, a dedicated update column generally provides a clearer signal. Switching to Any column should not be treated as a guaranteed solution for repeated values.
Prevent the Fix From Creating an Automation Loop
Before publishing the revised Zap, check whether any of its actions write information back into the same Google Sheet.
A loop can occur when an automation updates a record that its own trigger monitors. That update may start another run, which updates the record again and causes the workflow to repeat.
For example, suppose your Zap begins when Update ID changes and later writes another new value into that same monitored column. The action could create a fresh trigger event without anyone intentionally requesting another workflow run.
Zapier warns that these loops can consume tasks rapidly. They may also produce duplicate records or repeated actions in connected applications.
To reduce the risk, keep the trigger identifier separate from fields that the Zap routinely modifies. Review every action that writes to the monitored spreadsheet and avoid having the workflow generate another trigger value for itself.
If writing back to the sheet is necessary, design and test the workflow so that routine output updates cannot repeatedly restart the same processing sequence.
What If New Values Still Do Not Trigger Zapier?
If entering a unique value produces no run, the problem may be unrelated to value reuse. At this point, investigate the spreadsheet connection and configuration instead of repeatedly changing the identifier.
Check Whether the Spreadsheet Structure Changed
Zapier's Google Sheets integration depends on the spreadsheet retaining the structure expected by the workflow.
Changes such as sorting the worksheet, inserting rows in the middle, deleting existing rows or renaming columns can interfere with how Zapier identifies records. Renaming the worksheet or spreadsheet can also prevent the integration from locating the expected source.
If someone recently reorganized the sheet, that change deserves attention even if the automation's settings were not deliberately modified.
Turn off the affected Zaps before making further structural changes. Retest their Google Sheets steps, refresh or correct field mappings as necessary and publish the corrected workflows.
Check the Connected Account and Trigger Configuration
Open the Google Sheets trigger and verify that it references the intended Google account, spreadsheet and worksheet. Confirm that the selected Trigger column still exists and contains the values you expect.
If the account connection is no longer valid, follow Zapier's connection troubleshooting process. Avoid reconnecting accounts or rebuilding steps unnecessarily when the existing configuration can be corrected.
Also confirm that the published Zap is turned on. A successful test inside the editor does not, by itself, prove that a live workflow will process subsequent events correctly.
Consider Whether the Zap Is Simply Delayed
A missing run immediately after editing Google Sheets is not always a failure. Zapier's official guidance states that Google Sheets triggers can take approximately three minutes to initiate a workflow.
Allow for that processing time before testing again. Rapidly changing the same monitored cell several times can make the results harder to interpret because you may not know which value the integration detected.
Use one controlled update, allow time for processing and check the corresponding run before making another change.
Verify That Repeated Updates Now Work
The final test should demonstrate that your automation can process a new event even when the business status returns to a value used earlier.
Begin with a safe test row containing a previously processed status, such as Approved. Enter a new Update ID and check Zap History after allowing sufficient time for the trigger to process.
Confirm that a new run appears and that it contains the expected row information. If the workflow uses conditions, check whether those conditions allowed the intended actions to continue.
Next, repeat the business scenario using the same status but another unique Update ID. The second test should produce a separate run without requiring the business status itself to be new.
Finally, inspect the results in the destination application and confirm that the correct record was processed. A run appearing in Zap History is useful evidence but the workflow is not fully validated until its intended actions also behave correctly.
For important workflows, verify that the new configuration does not create duplicate records, unexpected notifications or repeated runs caused by updates to the monitored spreadsheet.
When to Investigate Beyond the Trigger Column
A unique identifier is an effective workaround for one documented Google Sheets trigger limitation but it is not a universal repair for missing Zap runs.
If the problem occurs only when values repeat, focus on how updates are detected. If no spreadsheet changes trigger the Zap, examine the connection, configuration and sheet structure instead.
When the Zap starts but stops at a filter or action, investigate that specific step rather than modifying the trigger unnecessarily.
The most reliable approach is to identify where the workflow stops, correct the relevant cause and verify the result with a controlled test. That prevents unnecessary changes to automations that may already be handling important business processes.